In this post, we’ll be covering how to use Loom screen recorder to create videos of your screen with the Loom chrome extension, as well as the desktop App. Loom is very user friendly and fast to set up. You can create screen recordings for free on their basic plan. It is a fantastic choice for simple recordings and tutorials. This tutorial is created using a Windows machine, however, you can also use Mac, or iOS! If you need more advanced options such as overlaying multiple sources into a specified layout, or you want to customize the design, you may want to check out our guide on How To Record With OBS Studio. If you just need something simple and easy, I highly recommend Loom! Let’s get started.
Download and Install Loom Screen Recorder
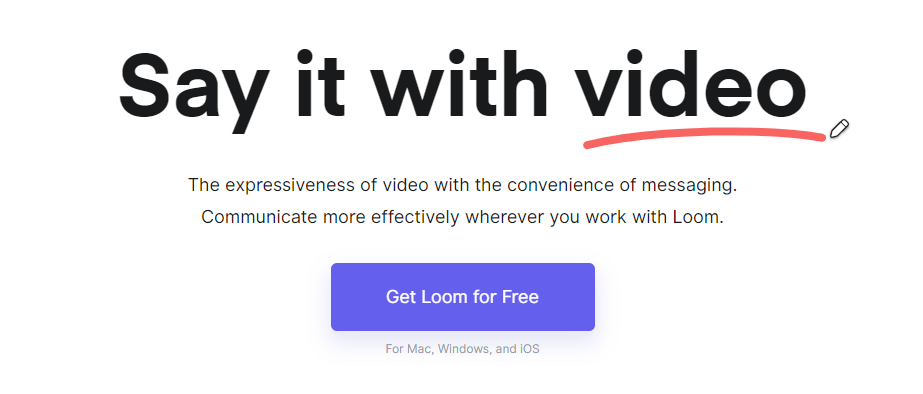
Our first step is to download and install Loom. Head over to Loom.com and click “Get Loom for Free”.
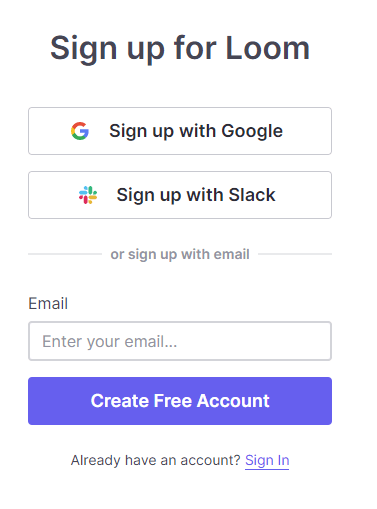
After you click the button, you’ll be asked to sign in or create an account.
Then, you’ll need to agree to the terms of service. You’ll be asked what you’re going to use Loom for and who you want to share videos with.
Next, you’ll choose to install either the chrome extension or the desktop recorder (or both, if you’d like). The main difference with the chrome extension is you’ll have the option to record specific tabs of your browser in addition to the option to record everything on your screen.
Now, you’re ready to start recording!
Recording with the Loom Desktop App
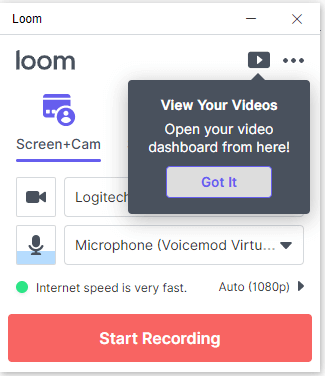
Let’s open the Loom screen recorder desktop app and create our first recording. When you first start the app, you’ll see a tutorial that you can click through if you’d like with a few useful tips.
Select Your Webcam, Mic, and Recording Quality
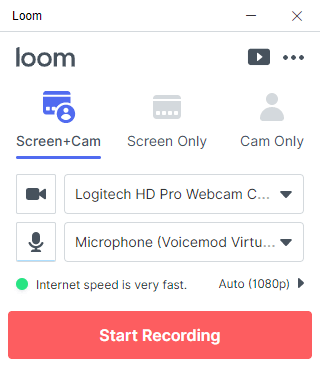
For your recordings, you can choose to record screen and cam, screen only, or cam only. Make sure to select your webcam and microphone. You can leave the recording quality on auto or select what you desire. I’ll go ahead and choose “Screen+Cam”.
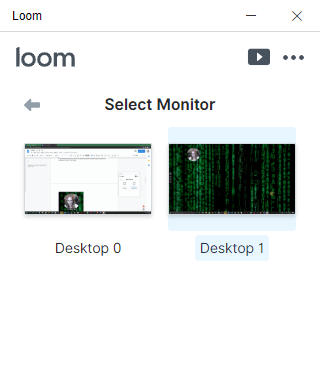
Note here, the upper right play type button which will take you to your recorded videos stored on your Loom account.
Changing Your Camera Size and Position
Changing the size and position of your camera is quite simple. Your camera will show in a small circle on your screen, which you can drag around to whatever spot you want!
If you hover over the circle, you will see options to make the camera into a smaller circle, fullscreen, or switch to your avatar, which you can change for a different photo.

Choose Which Monitor to Record
Once you click “Start Recording”, you can select which monitor to record if you have multiple. If you do, this can be very useful for getting things set up on the screen that is not visible before moving them onto the screen you are recording. That way you can switch between different windows and sources.
Start, Pause, Stop, or Delete Your Recording
Once you’ve made your selection, you will see a 3 2 1 countdown, and your recording will begin.
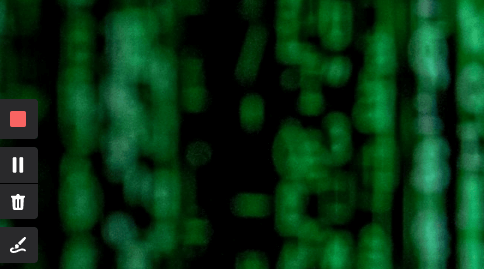
While recording, you’ll see a square stop recording button on the side of the screen. You can click that or press Ctrl + Shift + L to stop the recording. You will also see the options to pause, delete, and draw on your screen.
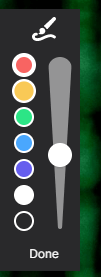
Drawing on the Screen
Drawing on the screen is available on paid plans only. You can change the size of your brush and choose between some basic colors.
Mouse Location Tracking
Another very helpful feature is the mouse tracking. Where your mouse is clicking, a little yellow circle will highlight the screen. This is very handy when creating tutorials! I was very happy to see this included by Loom in their screen recorder!

Finish and View Recording
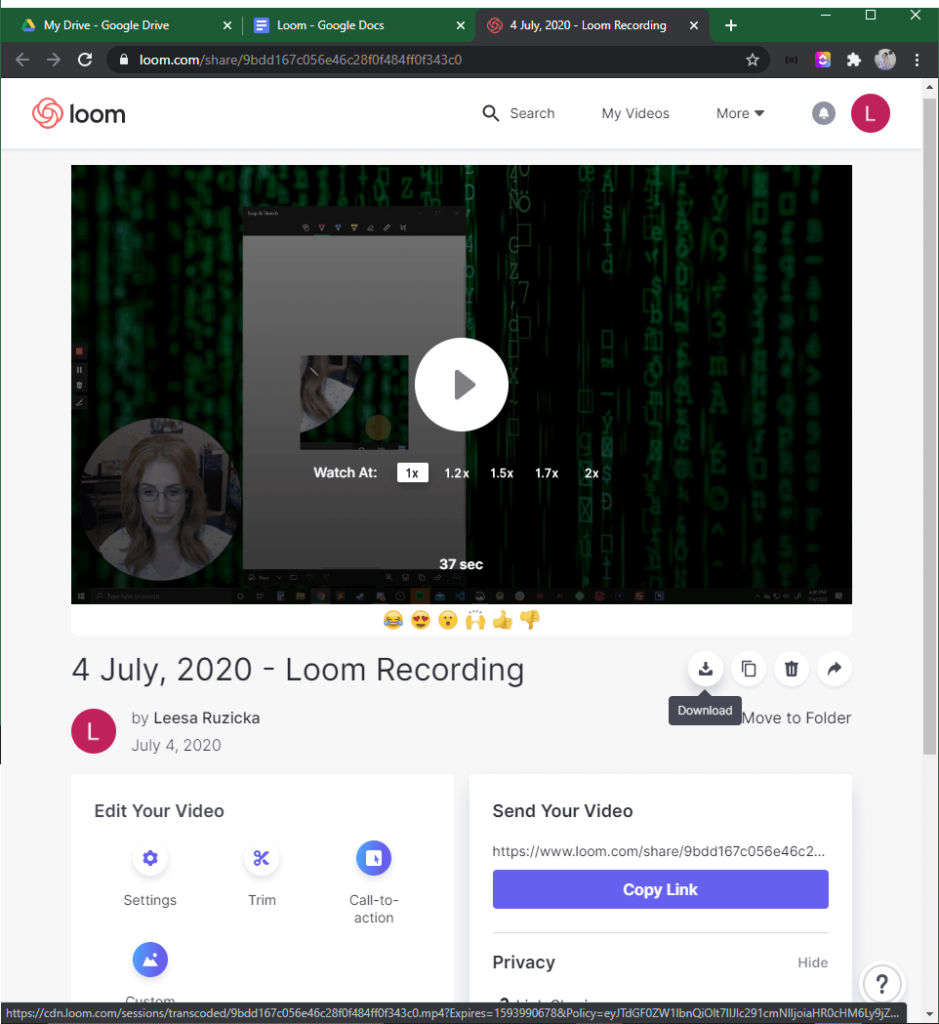
Once you’re finished, click the stop button. Your browser should open to where your video is being stored. You can also get there by going to loom.com and clicking on the video. This video dashboard will show you your editing and sharing options.
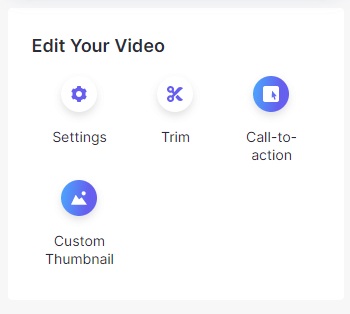
Video Editing, Privacy, Sharing, and More
The editing options with Loom are pretty straightforward. You can edit your title, and trim parts of your video. With a pro account, you can add a button with a link for a call to action, and upload a custom thumbnail.
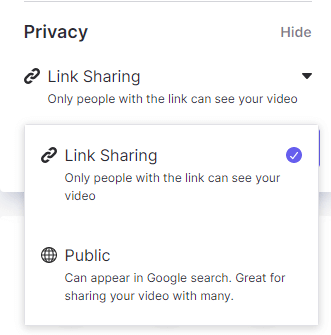
As far as privacy and sharing go, you can choose if your video shows up in google search, share the link to your video, and with a pro account, you can limit access to your video by email invites, or add a password.
You can also download your video here on this page.
Video Comments and Reactions
You and your viewers can comment and react using the emojis at specific timestamps of the video, and change the playback speed. This is super helpful in gauging your audience’s experience, as you can come back to the video and see how people are reacting.
Additional Tips and Loom Tutorial Resources
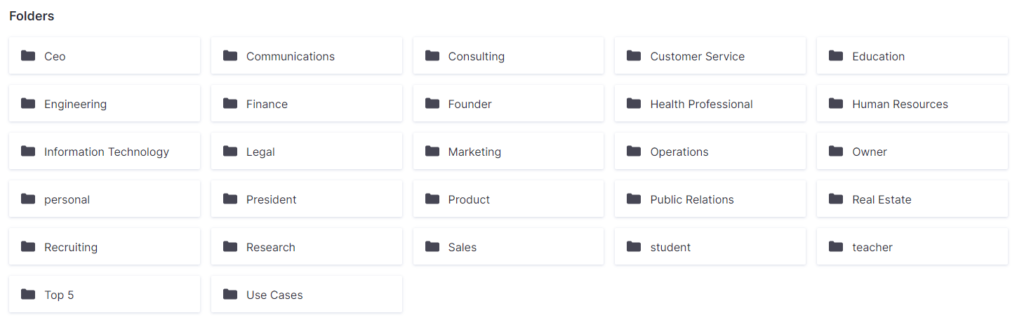
You can organize the videos in your Loom Video Dashboard by creating folders and subfolders.
In fact, there is an example set up for you, a “How to use Loom” folder added to your account, which contains a ton of videos on using Loom!
Loom Chrome Extension
The experience recording with the Loom chrome extension is pretty similar to the desktop app. There are a few differences between the buttons and options. Let’s create a new video with Loom screen recorder, this time using the chrome extension.
Recording Current Tab or Full Desktop
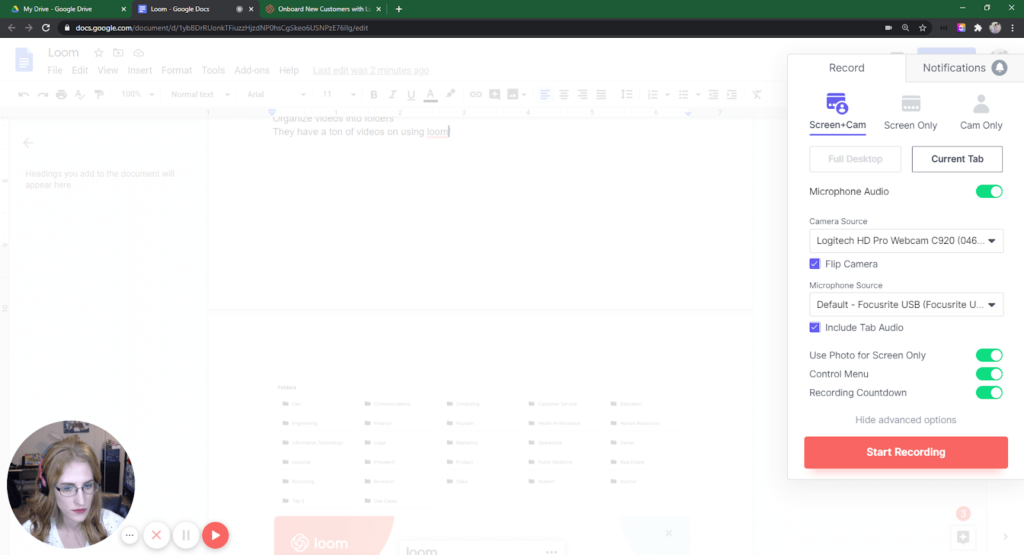
For the recording options, you are able to choose to record either your full desktop or your current tab only. You can also choose whether or not to record the audio from the tab. You have the option to record with a webcam or not, just like on desktop.
Record, Pause, Cancel, and Menu Buttons
Next to your webcam, you’ll notice the record, pause, cancel, and open/close menu (…), buttons are showing on the bottom left of the screen. Once you start recording the record button changes into a green checkmark, which you can click to end your recording.
Webcam Options
For your webcam options, you are able to drag the position to where you’d like it. The size options are a small, medium, or large circle. There is no option to make your camera fill the whole screen when using the extension as opposed to the desktop app, where you do have that option.
More Cool Features
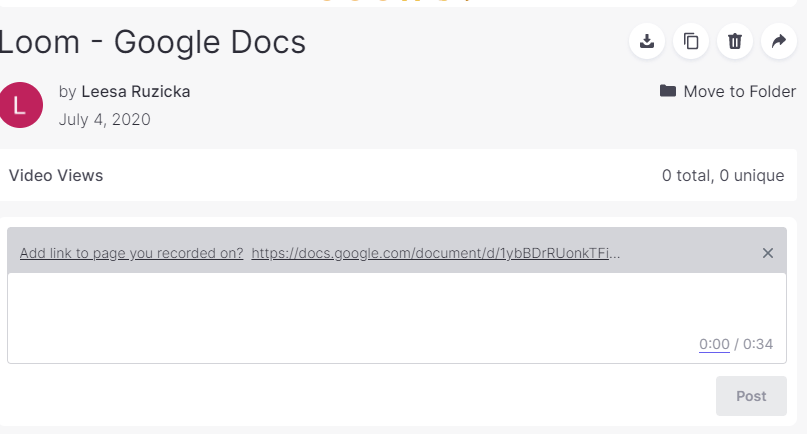
When you record with the chrome extension, the link to your video is copied to your clipboard ready for you to paste when you end your recording.
Also, the link to the page your browser was on is captured for you, so you can paste the link into the comments to share it with your viewers! How cool!
Now you’ve seen the differences between the chrome extension and the desktop app. Both great options, and easy to set up for a simple screen recording! Only one question remains, are there any cons to using a simple recorder such as Loom, over something with more options, like OBS?
Should You Use Loom as a Screen Recorder?
I absolutely loved how user friendly and easy to use this software was, both the chrome extension and the desktop app. I was pleasantly surprised by some of the cool features, and how thought out they seemed to be.
The only cons I can see relate to setting up and designing complicated layouts. But most of the use cases for these more complex setups involve longer-form content such as live streaming. If you do want to customize and integrate multiple sources and have a little more control over your layout and design, I would recommend recording with OBS, you can check out our guide for that here.
Otherwise, for simple tutorials and screen recordings, I would absolutely recommend using either the desktop or chrome extension Loom screen recorder. I will definitely be using it myself!
Leave me a comment, what kind of screen recordings do you do and what is your favorite screen recording tool?


Warning: Undefined variable $aria_req in /home/adasrubb/zappitalstudio.com/wp-content/themes/leesa/comments.php on line 83
Warning: Undefined variable $aria_req in /home/adasrubb/zappitalstudio.com/wp-content/themes/leesa/comments.php on line 89
Warning: Undefined variable $consent in /home/adasrubb/zappitalstudio.com/wp-content/themes/leesa/comments.php on line 96