This tutorial includes a very basic walkthrough of how to install OBS Studio on Windows or MacOS. If you are comfortable installing software on your own, you may want to skip to the next post for a setup and recording guide.
What is OBS Studio?
OBS Studio is a free screen recording software. OBS Studio is newer and recommended over OBS Classic. It allows you to record multiple sources such as a webcam, a browser window, your computer screen, games, along with audio such as your desktop sound, and microphone(s). OBS is a great tool for creating a tutorial or training. You can also use it to live stream to a platform such as Facebook, YouTube, or Twitch, which will be covered in another post.
Download the Installer
First, you need to go to the OBS Studio website to download OBS Studio, here.
Click on your operating system, and then click on the button to download the installer for Windows or MacOS. There are separate instructions for installing on Linux, which I will not be covering here.
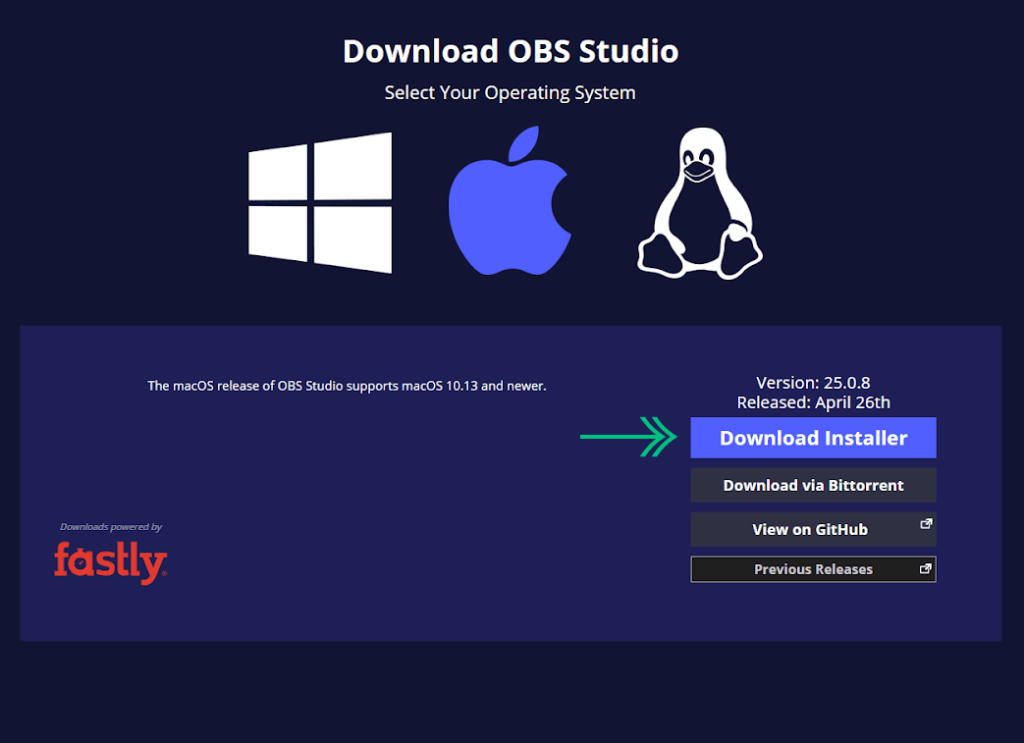
Download OBS Studio Installer on MacOS 
Download OBS Studio Installer on Windows
How To Install OBS Studio
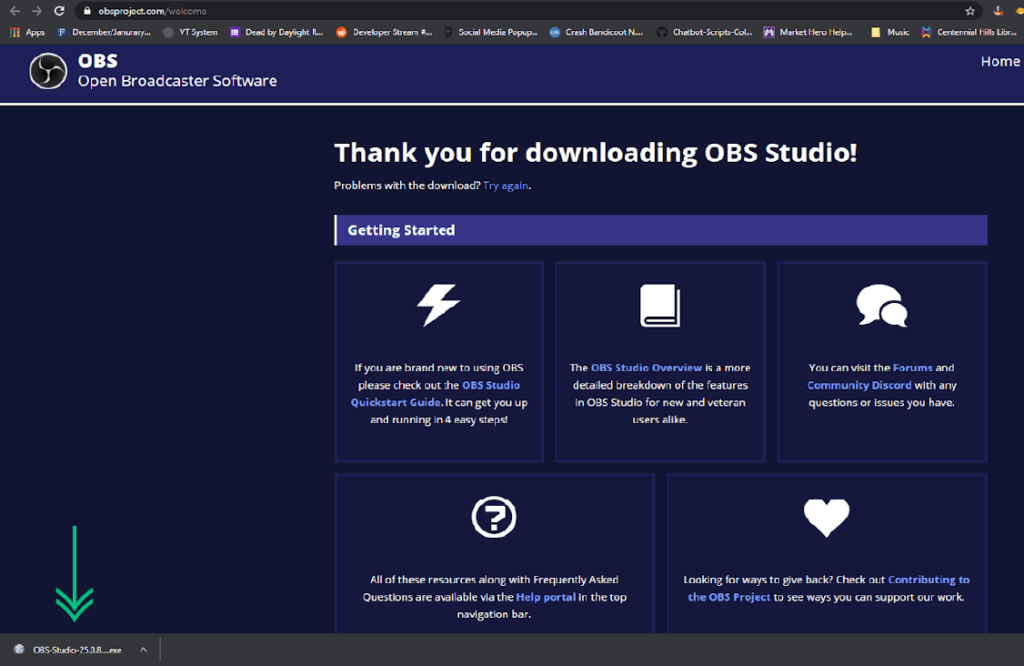
Once the installer downloads, open it by clicking on it at the bottom of your browser, or by locating it in your downloads folder.
You may be asked to allow OBS Studio permissions to make changes to your computer. If so, click “Yes”.

Follow the Setup Guide
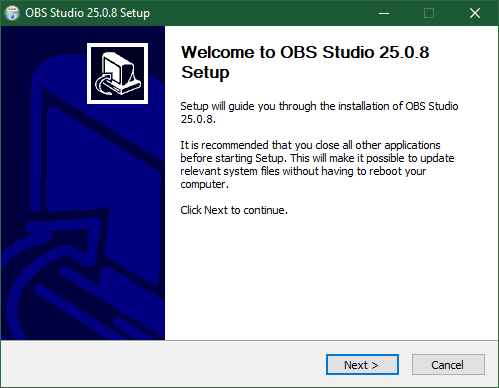
The setup window will then show. Click “Next” on this first screen to start the setup.
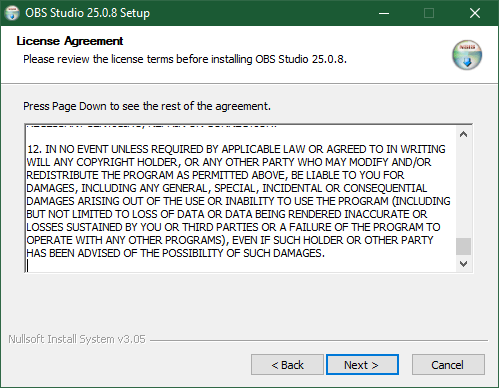
You will be asked to review the license agreement, and then click “Next”.
Choose Where To Install
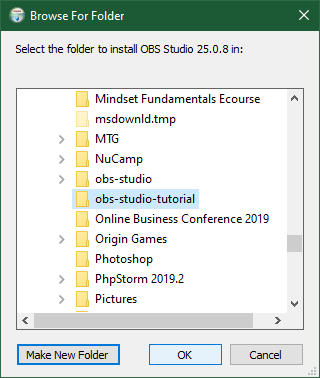
Afterward, you will choose where to install OBS Studio. You can leave the destination folder at the default location, or choose a different folder by clicking “Browse”.

If you need to install OBS on a different drive, for example, you can select that drive and create a new folder to install it in by clicking “Make New Folder”. Once the folder you want is selected, click “OK” to move on.
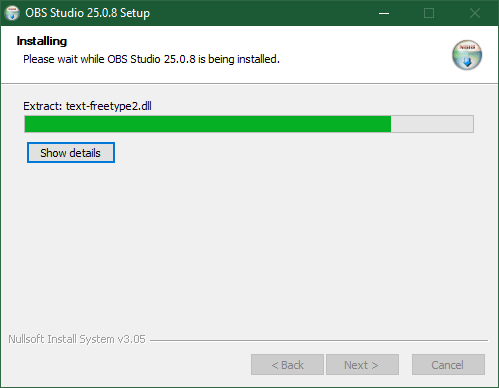
Then, click “Install”, and the installation will begin. Wait for it to finish, and then click “Next”.
Finish and Launch OBS!
After the installation is complete, you can leave the box checked to launch OBS Studio, and click “Finish”.
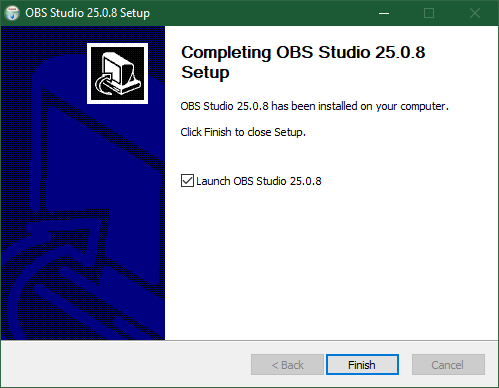
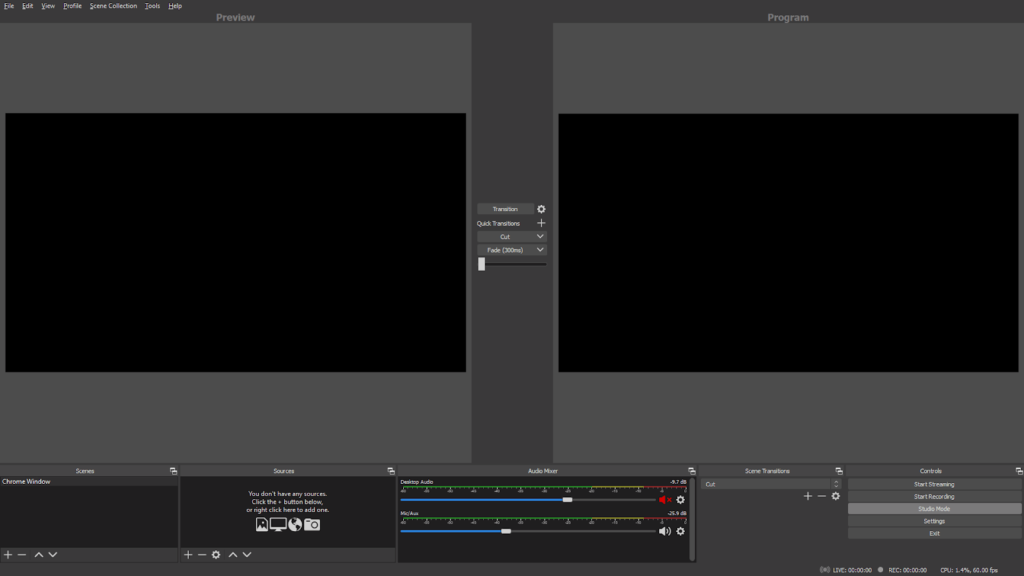
Great, you are now finished installing, and OBS Studio has started! You are ready to continue learning how to record video using OBS.
Audio Install Needed for MacOS
If you are installing OBS on Mac, you will also need to install additional software to get the audio working. Please do so following the instructions on the OBS Project website, here, before proceeding to the next tutorial.
Further Resources
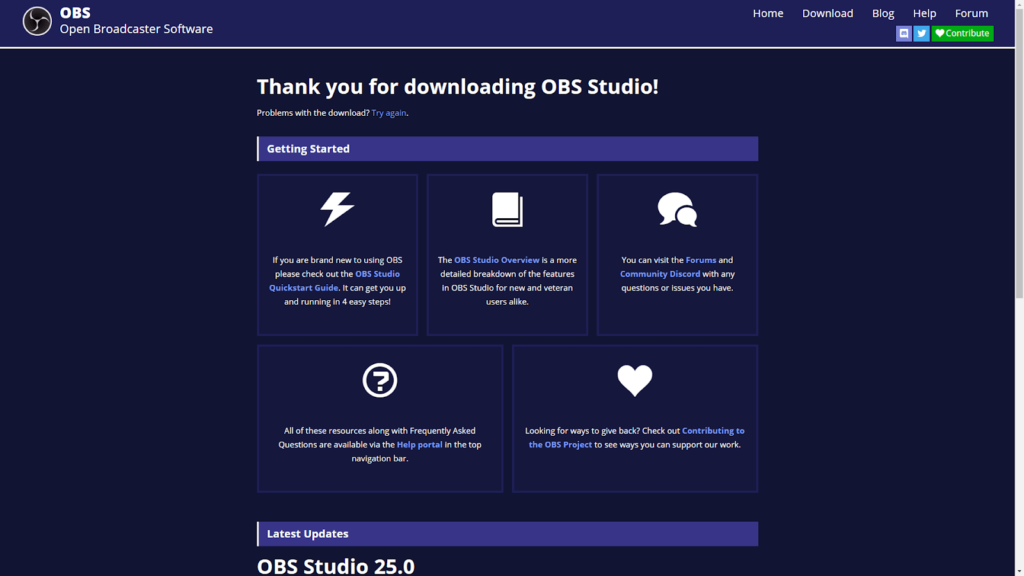
If for any reason you had issues with installing, head back to your browser. After you clicked download, you were taken to the getting started page, which you can use to access OBS Studio’s quick start guide, a more detailed overview, FAQ’s and updates. Please consult the faq’s and forums there for troubleshooting, and if you still need help, feel free to leave a comment here, or @ me on twitter.
Otherwise, continue on to our next post in the series, How To Record With OBS Studio: Screen Capture Tutorial.


Warning: Undefined variable $aria_req in /home/adasrubb/zappitalstudio.com/wp-content/themes/leesa/comments.php on line 83
Warning: Undefined variable $aria_req in /home/adasrubb/zappitalstudio.com/wp-content/themes/leesa/comments.php on line 89
Warning: Undefined variable $consent in /home/adasrubb/zappitalstudio.com/wp-content/themes/leesa/comments.php on line 96