This tutorial includes a very basic walkthrough of how to record with OBS Studio. We will first cover the basics of how to set up obs so you can create video tutorials or other content. Then, we’ll talk about adding audio sources and a webcam, sizing and cropping sources, and scene transitions. Using obs screen recorder to capture your computer screen is free! If you would like instructions on how to install obs studio, check out that post first. Otherwise, if you are looking for information on how to live stream with obs studio, that will be covered in another post.
Post Contents:
- Set Up A Profile
- Create A Scene Collection
- Adding Scenes
- Adding Sources
- Adding Audio Sources
- Optimize Your Recording Settings
- Saving and Naming Your Recordings
- How To Record With OBS – Test Recording
- Add A Webcam
- Resizing and Cropping Scenes and Sources
- Nesting Scenes
- Use An Image For A Webcam Border
- Changing Scenes With Transitions
- Preparing to Record A Video
- Troubleshooting and Further Resources
How To Set Up OBS for Screen Recording
To start out, we will talk about a few things you can do to set up obs for recording. If you are going to be recording with obs regularly, it is well worth the time to set up a profile and scene collection. This will save you the trouble of having to set things up more than once for different types of recordings or live video streams that you do. If you haven’t already, open OBS Studio, and let’s get started by setting up a profile.
1. Set Up A Profile
In the top upper left menu, click on “Profile”, then select “new”.
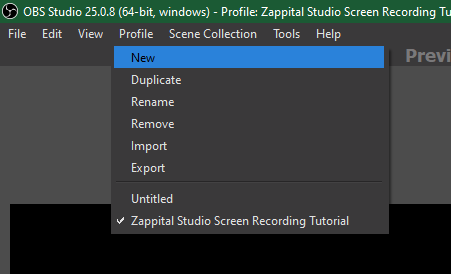
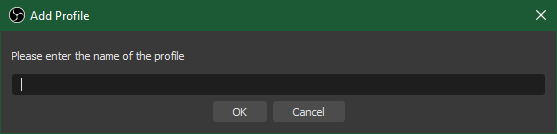
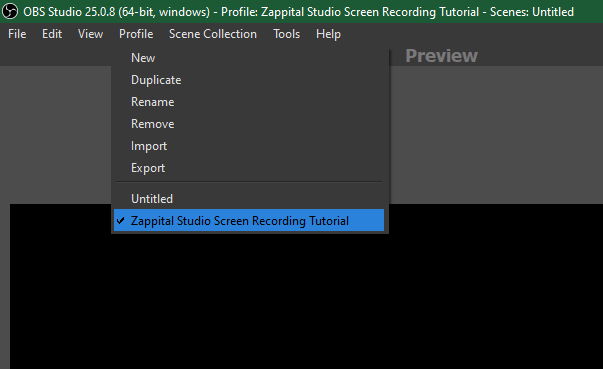
Name your profile something relevant, then click “OK”. Now, if you click on “Profile” again, you should see your new profile with a checkmark next to it. You can create different profiles to switch between settings.
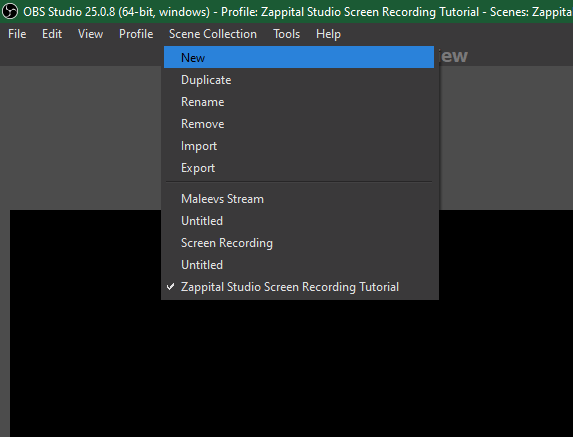
2. Create A Scene Collection
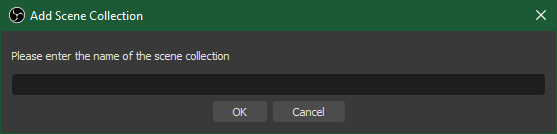
Next, let’s create a scene collection. Click on “Scene Collection” in the menu, and then select “New”.
Name your scene collection, and then click “OK”.
Now, if you click on “Scene Collection” again, you should see your new scene collection with a checkmark next to it. You can easily switch between scene collections here for different types of recordings. I would suggest keeping everything you need for your recording session type in one collection. If you record different kinds of videos with different layouts and settings, you can create a different collection for each.
3. Adding Scenes
Next, let’s add our first scene. By default, you may already have one in the box that says “Scenes”.
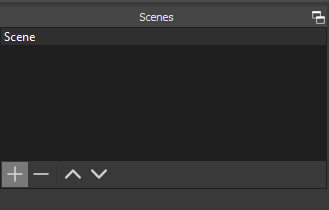
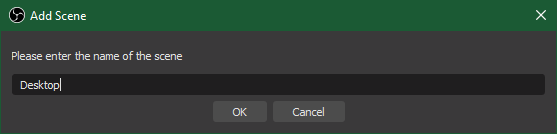
To add a new scene, click on the “+” button at the bottom of the box. Let’s name ours, “Desktop”, and click “OK”. Next, we are going to add a source to this scene.
I imagine if you’re using this tutorial, you’re wanting to learn how to record with obs so you can create a tutorial of your own or another type of video using screen capture. I’ve tried to cover the essentials for getting started quickly, including recording our desktop, mic, desktop sounds, and webcam as well.
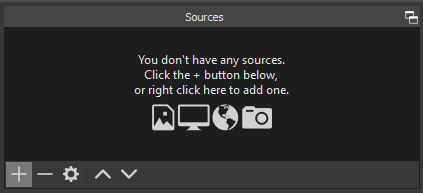
4. Adding Sources
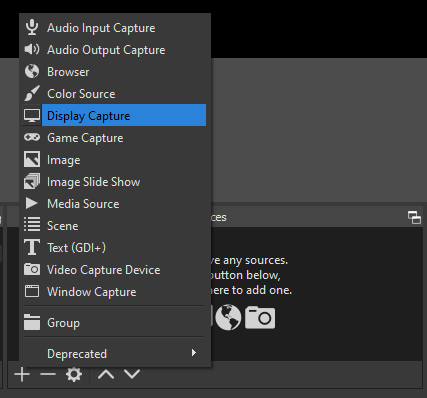
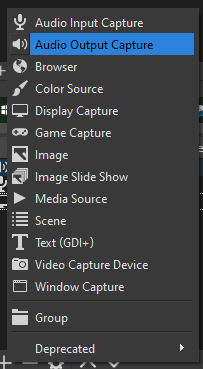
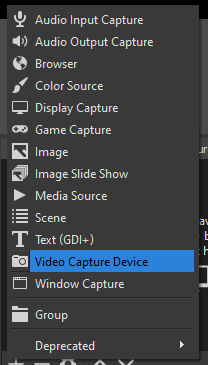
Inside the “Sources” box, click the “+” button. You can also right-click, and select “Add”.
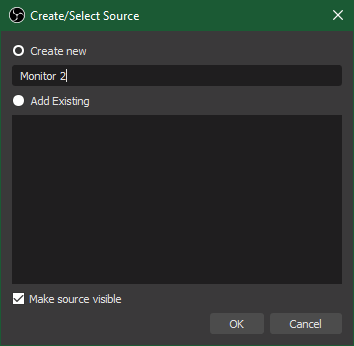
For our Desktop scene, we are going to add a “Display Capture” source, so click on that one. Name your Source, and click “OK”.
A “Properties” window will come up. Select your display option, then click “OK”.
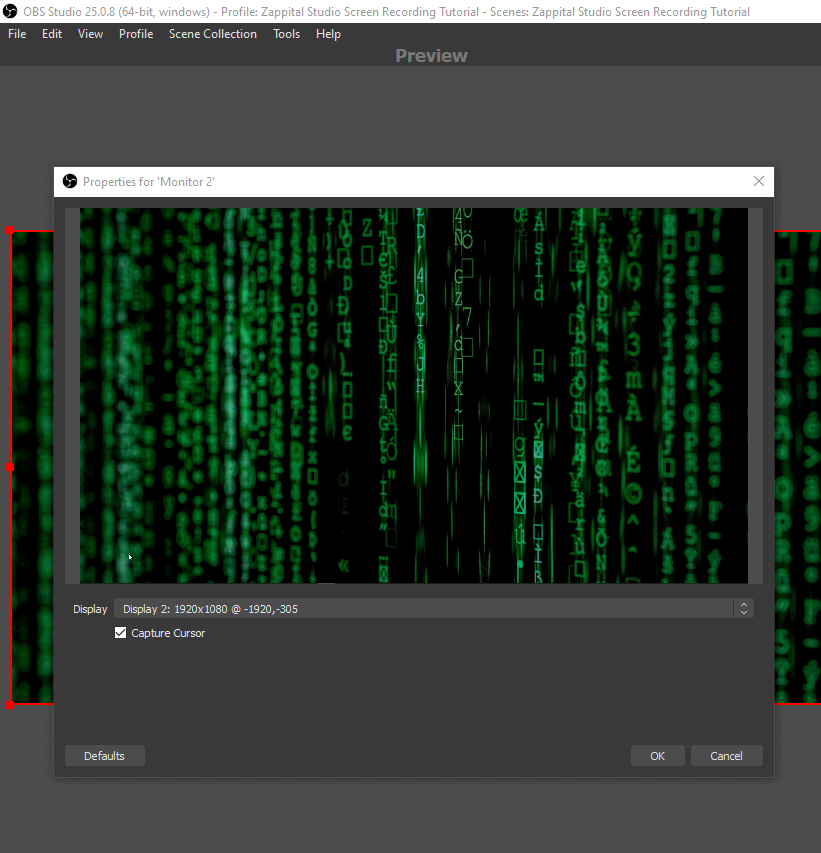
Great! Now you should see your screen in the preview window. Next, we will add two audio sources, our mic, and desktop sound.
5. Adding Audio Sources
* For Mac users, please see this note on setting up audio here first before adding audio sources.
In the “Sources” box, click the “Add” button, and then choose “Audio Input Capture”. Name your source, and click “OK”.

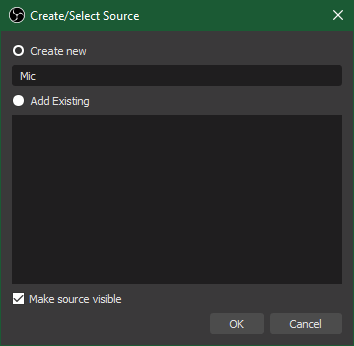
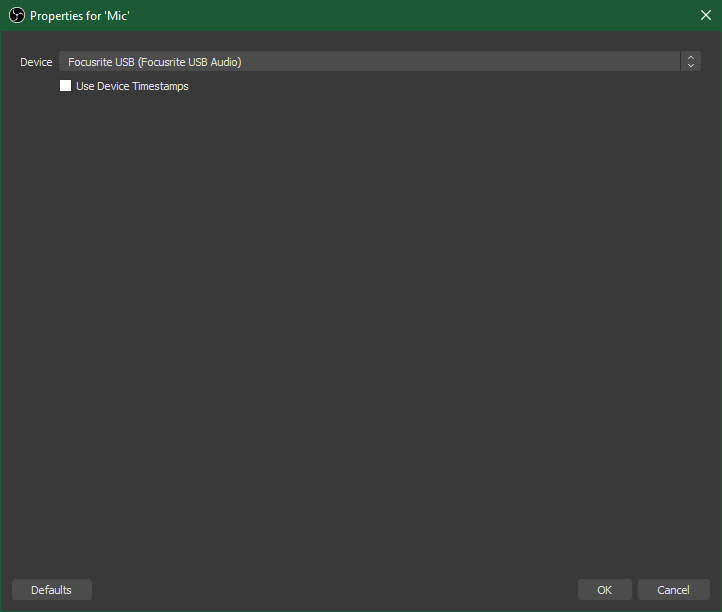
Then, in the Properties window that comes up next, choose your microphone.
After you click “OK”, you should now see your Mic in the Audio Mixer box.
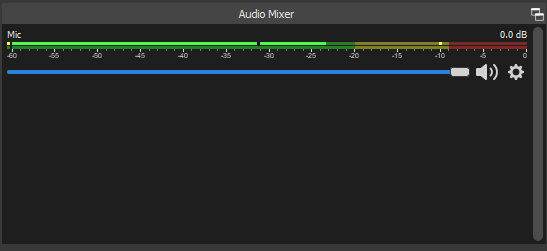
If it is picking up your audio input, you should be able to see the green, yellow, and red bar moving as you talk and make noise.
Next, let’s add our Desktop Sounds. In the Sources box, click add, then choose “Audio Output Capture”.
We’ll name ours “Desktop Sound” and then click “OK”. At this point, you should see your “Desktop Sound” bar show up in your Audio Mixer box. If you turn on some music, you should be able to see the bar moving to indicate it is picking up the sound from your desktop.
I highly discourage you from capturing music or desktop sounds using an audio input source (your mic). Capturing it directly from your desktop output instead will result in much higher quality. It will also allow you to take advantage of the audio mixer, where you can adjust the settings like sound volume, or even muting audio sources individually for any part of your recording. If you want to monitor your desktop sounds while recording, wear headphones.
6. Optimize Your Recording Settings
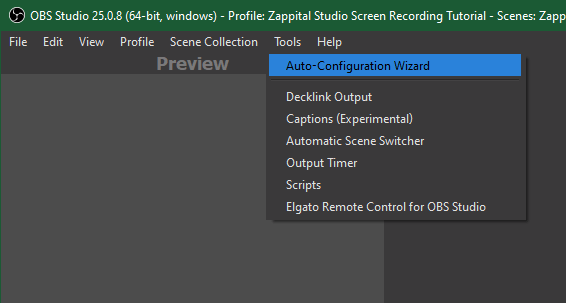
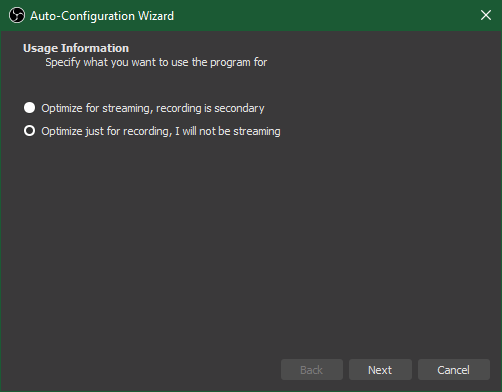
We are just learning the basics of how to record with OBS, so we won’t go into too much detail about advanced settings. Thankfully, OBS has a built-in tool to optimize your settings for recording. In the menu, click on “Tools”, then choose “Auto-Configuration Wizard”. Then, choose “Optimize just for recording”.
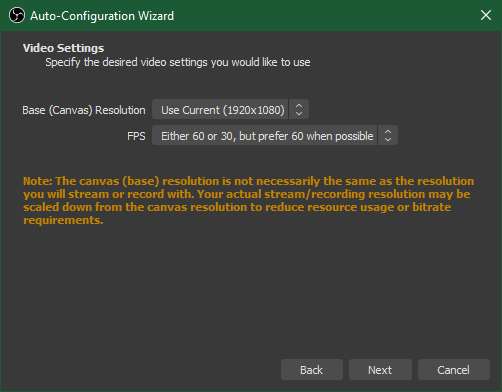
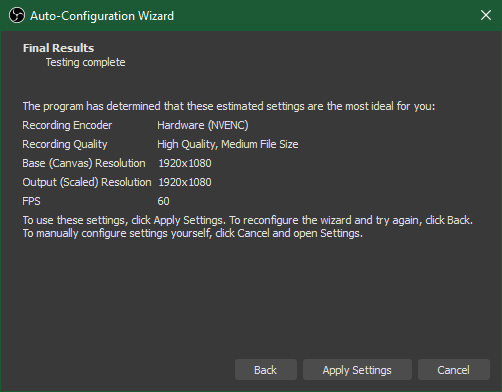
The next window has settings for Base Resolution and FPS. Yours may be different based on your monitor and display settings. For now, it is fine to leave these set to default options. Go ahead and click “Next”. Then, the window will show you the test results for your best settings. You can then click “Apply Settings”.
Please note, if you are going to be screen recording while also running other programs, you are going to want to run this auto-configuration wizard while running all the same things you will be running while you record. This will give you the most accurate recommendations.
You can always run this auto tool again if you need to, as long as you are not currently recording. Recording your screen shouldn’t be very hard on your computer by itself, but if you add in graphics editing, video editing, streaming, running servers while programming, etc, this can possibly make a difference and you may want to test for better settings during those types of situations.
I’d just like to mention as well, that you may want to adjust your resolution and output settings for recording for specific social media platforms. That is a topic for a whole different post, so let me know if you’d like more information on that.
7. Saving and Naming Your Recordings
In the Controls box or in the menu under File, click on “Settings”. Then click on “Output”. Inside the Recording box, you will see the “Recording Path”. Note this file location, so you can find your video after you record. You can click on “Browse” if you wish to select a different folder to save your videos in. This is also where you can choose your recording format. I have mine set to “mkv”.
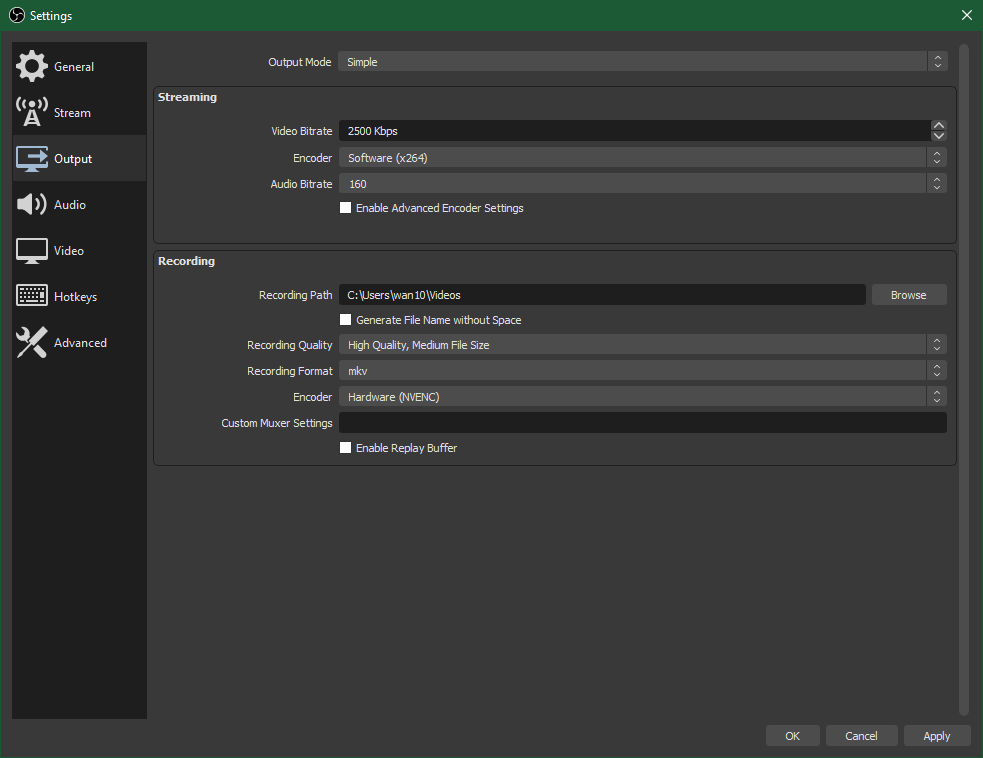
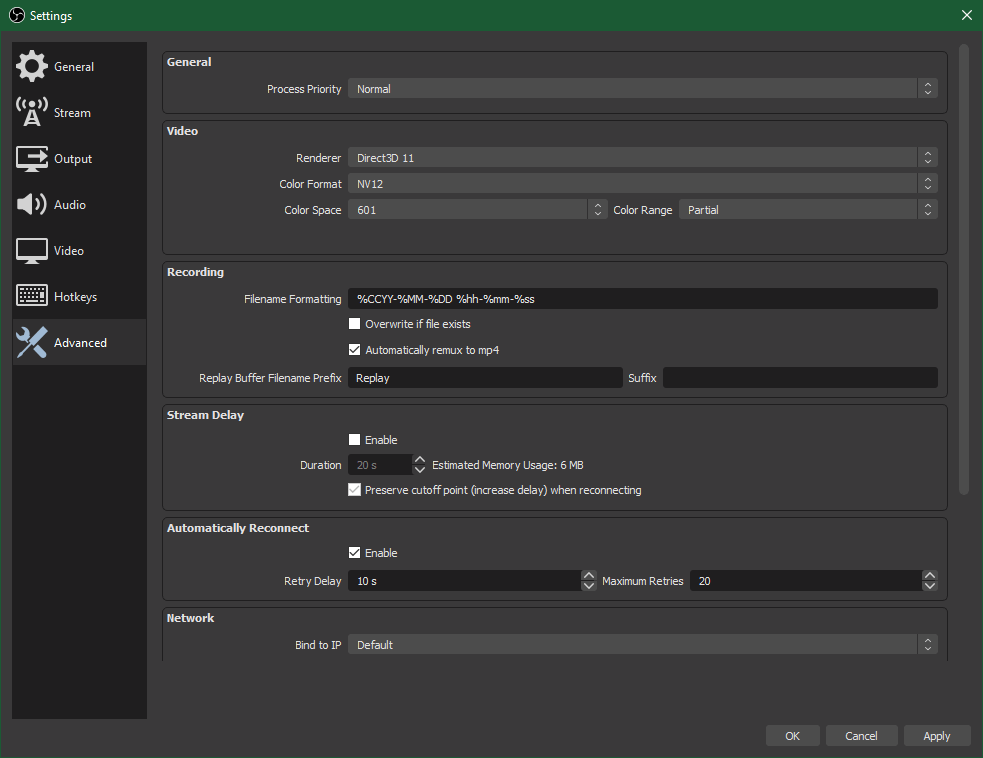
Then, in the advanced area, inside the recording box, I have selected to have it “automatically remux to mp4”. This is just a safeguard for being able to recover my video files in the case of a power outage for example. Also in this same recording box, you can change the format of the file name if you wish. By default, it is set to use the date and time as the name.
At this point, you should have your desktop and your two audio sources added to your scene. This is the bare bones of what you need to start recording a screen capture video with obs!
How to Record With OBS
You are ready to create your first OBS recording! Not bad. Before we get into a few more things like adding a webcam and scene transitions, we’re going hit record and check it out!
8. Test Recording
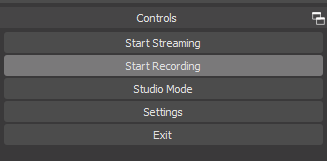
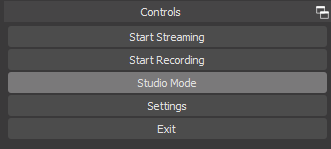
Let’s go ahead a do a little test recording. Click the “Start Recording” button in the control box on the right side!
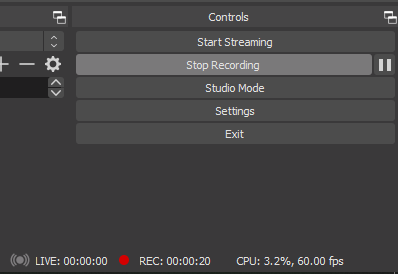
You can now see options to pause or stop your recording. You’ll also see how long you’ve been recording below it, next to the Red circle with “REC:” followed by the length of time.
Go ahead and play and pause some music, talk into your mic, and open and close some windows on your screen so you can see how it looks and sounds on a recording.
Open the video from the folder you noted when you check where your recordings are being saved and see how it turned out! You can make any adjustments you need before officially recording.
Next, let’s add a webcam and talk about changing between scenes!
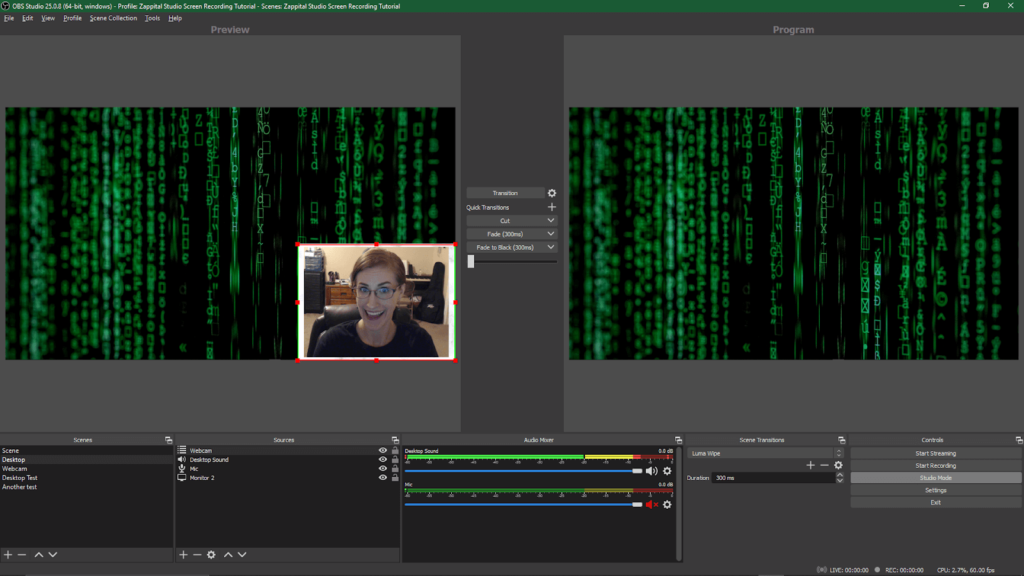
9. Add A Webcam
Let’s add a new scene. Click the add button in the scenes box, and we’ll name our scene webcam. Then, we’ll add a “Video Capture Device” to this scene by clicking add in the source box.
Name your webcam source, and then choose the device in the next window. You should see a preview of your webcam!
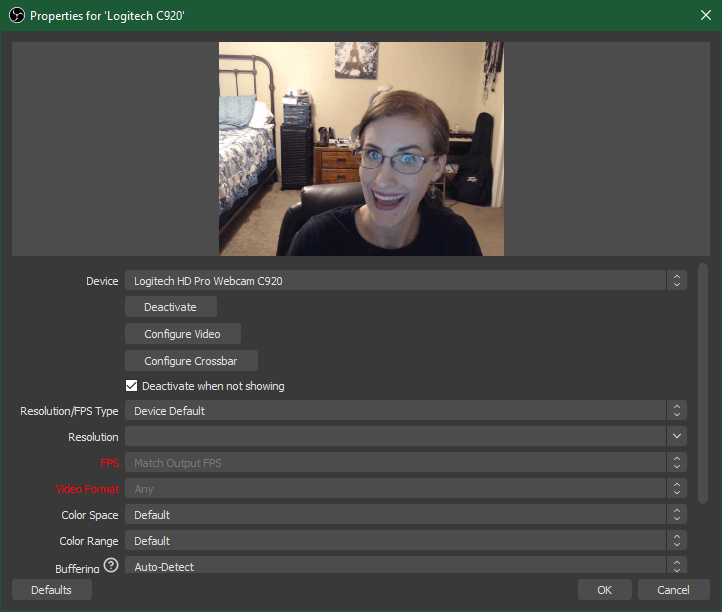
I also recommend checking the box “Deactivate when not showing”. Then, after you click ok, you should see your webcam in the preview window with the red lines around it.
10. Resizing and Cropping Scenes and Sources
To resize a source, in our case the webcam preview, right-click on it and choose transform, then fit to screen. Notice that you can also flip, stretch, rotate, reset, and more.

If you have extra black space on the sides at this point that is ok. Drag the red bounding box to resize your source until it fills up the whole screen if you want to crop the black space out here. You can also use the arrow keys to nudge it around.
To resize, you can drag the corners of the red box around your webcam or other sources. To move them around, just drag. Unfortunately, there’s no option to use Ctrl + Z to undo your movements. You may want to right-click on the source, and click transform, and choose “Center to screen”.
You can change the settings to snap sources to the edge or screen, other sources, and horizontal and vertical center in your general settings under “Source Alignment Snapping”.

Whether you use a nested scene or add the webcam or other source directly to a scene, you have the ability to crop it inside your current scene and use a different crop in a different scene. You can crop using alt cropping, which you do by holding the alt key and dragging in sides individually to crop it inside a scene. You’ll notice the border change to green on the side you are cropping in.
11. Nesting Scenes
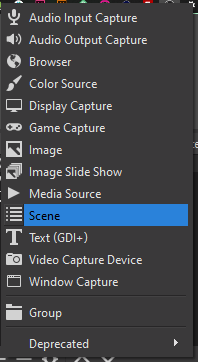
In the Scenes box, select our desktop scene. Next, in the sources box, we are going to add a scene source to our desktop scene. Click add, then choose “Scene”.
Select your webcam scene. This should add your webcam scene to your desktop scene! Now you have a scene nested inside a scene.
The advantage of using a nested scene instead of adding your webcam as a source to your desktop scene is that you can use this as a template. Then you can add a background, border, filters, etc, that will apply to all the scenes you use this nested scene in.
12. Use An Image For A Webcam Border
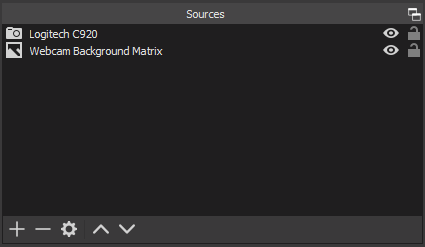
Okay, so we’ve learned the basics of how to record with obs, set up our scenes and sources, now let’s try something a little fancier. How about we add an image to the webcam scene? With the webcam scene selected, go to the source box and click add, then choose “Image”. Click the browse button and select an image. I’m going to choose this marble image and click ok.

Then, in the sources box, drag the image below the camera source so that it will appear behind it. This changes the order of the layers.
Fit your image to the screen size, then resize your cam so it has room for the image around it as a border. Now, if you go back to your desktop scene, you will see that your webcam now has the border around it!
I didn’t have my studio lights turned on while I captured that image, but hey, our desktop scene is coming along great! Now, how can we change scenes while recording?
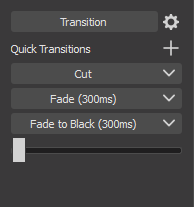
13. Changing Scenes With Transitions
Let’s say for your video you want to have a few different scenes set up, and the ability to transition between them. The first thing you’ll want to do is turn on studio mode. If you already have two preview windows with the transitions buttons in between, this is already activated. If you are only seeing one preview, click on the studio mode button to activate it.
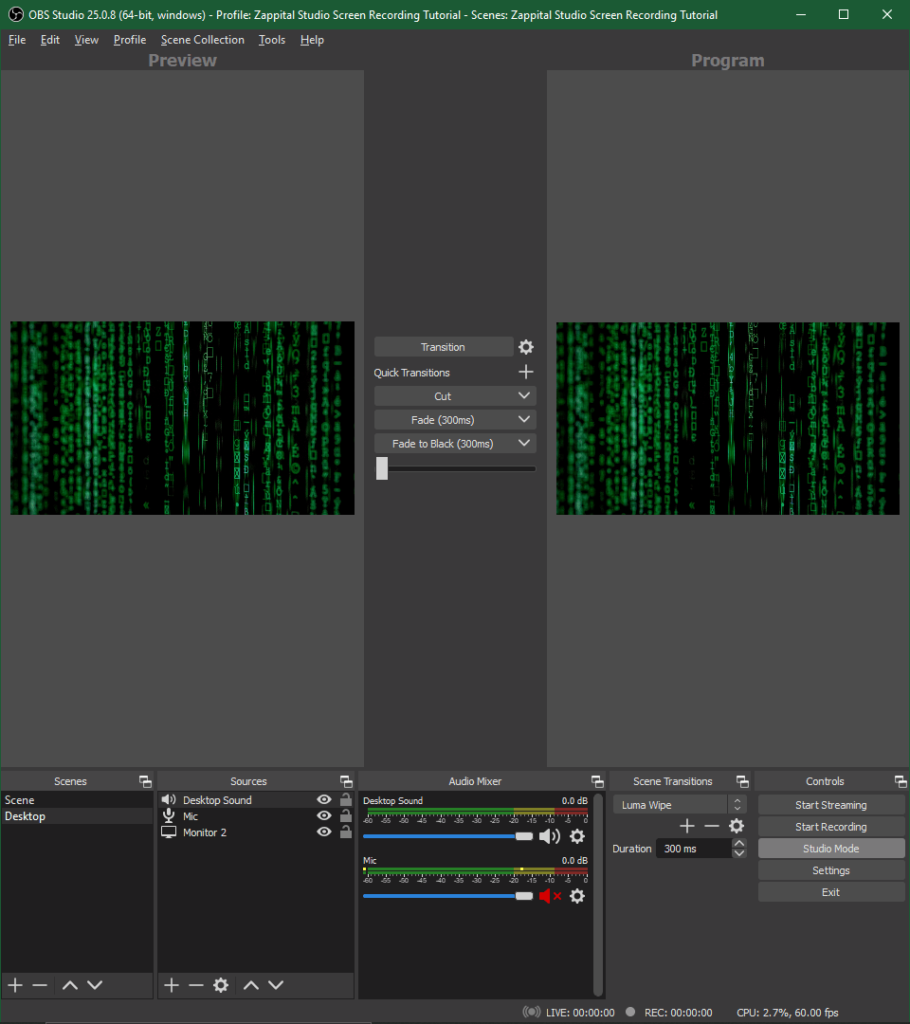
You’ll notice that one side is the “preview”, and the other that says “program”, is the active recording scene. When you click onto different scenes with studio mode activated, only the preview window will change.
Then, you can click on the transition button in the middle to transition that scene into the active recording area. This allows you to make changes to the preview and switch between scenes while recording. Only the program side will be recorded.
You’ll also see the scene transitions box next to the controls box.
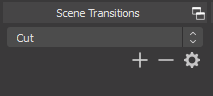
We won’t be going into any more detail on transitions in this tutorial, but feel free to play around with the speed and transition effect.
14. Preparing to Record A Video
When you are preparing to record a video, write an outline with notes of the different scenes you need and set them up in your scene collection. Then, during your recording, you will have them all ready to switch between with the click of a button!
This is just the tip of the iceberg. There are so many additional options for screen recording with obs!
You should now be able to record your screen and create a video tutorial. Once you have your scene collection ready, go back to number 8, and test your recording. Make adjustments until it is working how you’d like. This section is also a good reference for how to record with OBS! That’s right, the process is the same as we did in our little test. Now you can see, that once you’ve got things set up the way you like, you will only have to open OBS and push record in the future!
15. Troubleshooting and Further Resources
If for any reason you had issues, open your browser and head to OBS Studio’s quick start guide. Please consult the faq’s and forums there for troubleshooting, and if you still need help, feel free to leave a comment here, or @ me on twitter.
Now that you’re all set on how to record with obs, check out our next tutorial coming soon, how to live stream with obs!
followed your tutorial on how to add a display capture for creating my own tutorials , i keep getting the same problem. i press start recording then add a source to my scene but the source i add completely takes over the screen (i wasnt aware until playback of the recording) so you cannot see what im actually doing things just appear on screen the resize cursors dont even show or any of the panels like scenes sources etc what am i doing wrong AAAAArrrrrggggghhh
Hi Stuart! I’m happy to help. Before you record, you’ll want to get your scenes set up and make sure they are showing how you’d like in the preview. After you add the source, you can resize it a couple of different ways. What sources are you using? They should allow you to drag and resize the source from within the preview, or right-click on it and choose transform. You can also re-order the sources, to change which layer is on top.